
How to Build a DIY Solar Food Dehydrator: Complete Guide
Discover how to build a solar-powered food drying cabinet that uses sunlight and natural airflow to preserve fruits, herbs, and other suitable foods without depending entirely on electricity.
Preserving food without relying on electricity is an interesting challenge for anyone interested in sustainable living, gardening, and off-grid independence. One practical solution is a DIY solar food dehydrator, a simple structure designed to use sunlight to remove moisture from food.
Unlike traditional outdoor drying, a solar food dehydrator uses an enclosed cabinet, a transparent solar collector, drying trays, and ventilation openings. Sunlight heats the air inside the collector, and the warmer air moves through the drying chamber, carrying moisture away from the food.
This approach can be useful for drying suitable fruits, herbs, and other produce while reducing the need for an electric dehydrator. It can also help gardeners preserve seasonal harvests and reduce food waste.


In this guide, you will learn how a solar dehydrator works, which materials are needed, how to plan the cabinet, how to improve airflow, and what food safety precautions to follow.
1. What Is a Solar Food Dehydrator?
A solar food dehydrator is a cabinet or enclosed drying structure that uses solar heat to remove moisture from food.
Its design generally includes a transparent surface that allows sunlight to enter, an air inlet near the bottom, a drying chamber with multiple trays, and an upper outlet that allows warm, humid air to escape.
The system uses the greenhouse effect and natural convection to move heated air through the cabinet.
When the sun warms the collector, the air inside becomes warmer and less dense. It rises through the drying chamber and passes around the food. As this air moves, it carries moisture away from the food and out through the exhaust opening.
Unlike an electric dehydrator, a passive solar model may not need a fan or electrical heating element. However, airflow and drying conditions are less predictable because they depend on the weather.
2. How Does a DIY Solar Food Dehydrator Work?
The operating principle is based on solar heating and natural airflow.
Solar Food Drying Process
Solar energy
Air is heated
Moisture evaporates
Humid air escapes
A passive solar dehydrator uses temperature differences to encourage natural airflow.
Step 1: Sunlight Enters the Collector
Sunlight passes through the transparent collector cover. The dark absorber surface underneath captures solar energy and converts it into heat.
Step 2: Air Becomes Warmer
Fresh air enters through a lower opening and moves across the heated collector. As the air temperature increases, it begins to rise.
Step 3: Warm Air Passes Through the Food Trays
The heated air enters the drying chamber and circulates around the food. Moisture evaporates from the exposed surfaces and mixes with the moving air.
Step 4: Humid Air Leaves Through the Chimney
The warmer, moisture-filled air rises toward the upper outlet and escapes through the chimney. This helps maintain airflow and removes moisture from the drying chamber.
The process continues while suitable sunlight and temperature conditions are available.
3. Main Components of a Solar Food Dryer
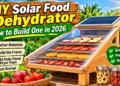
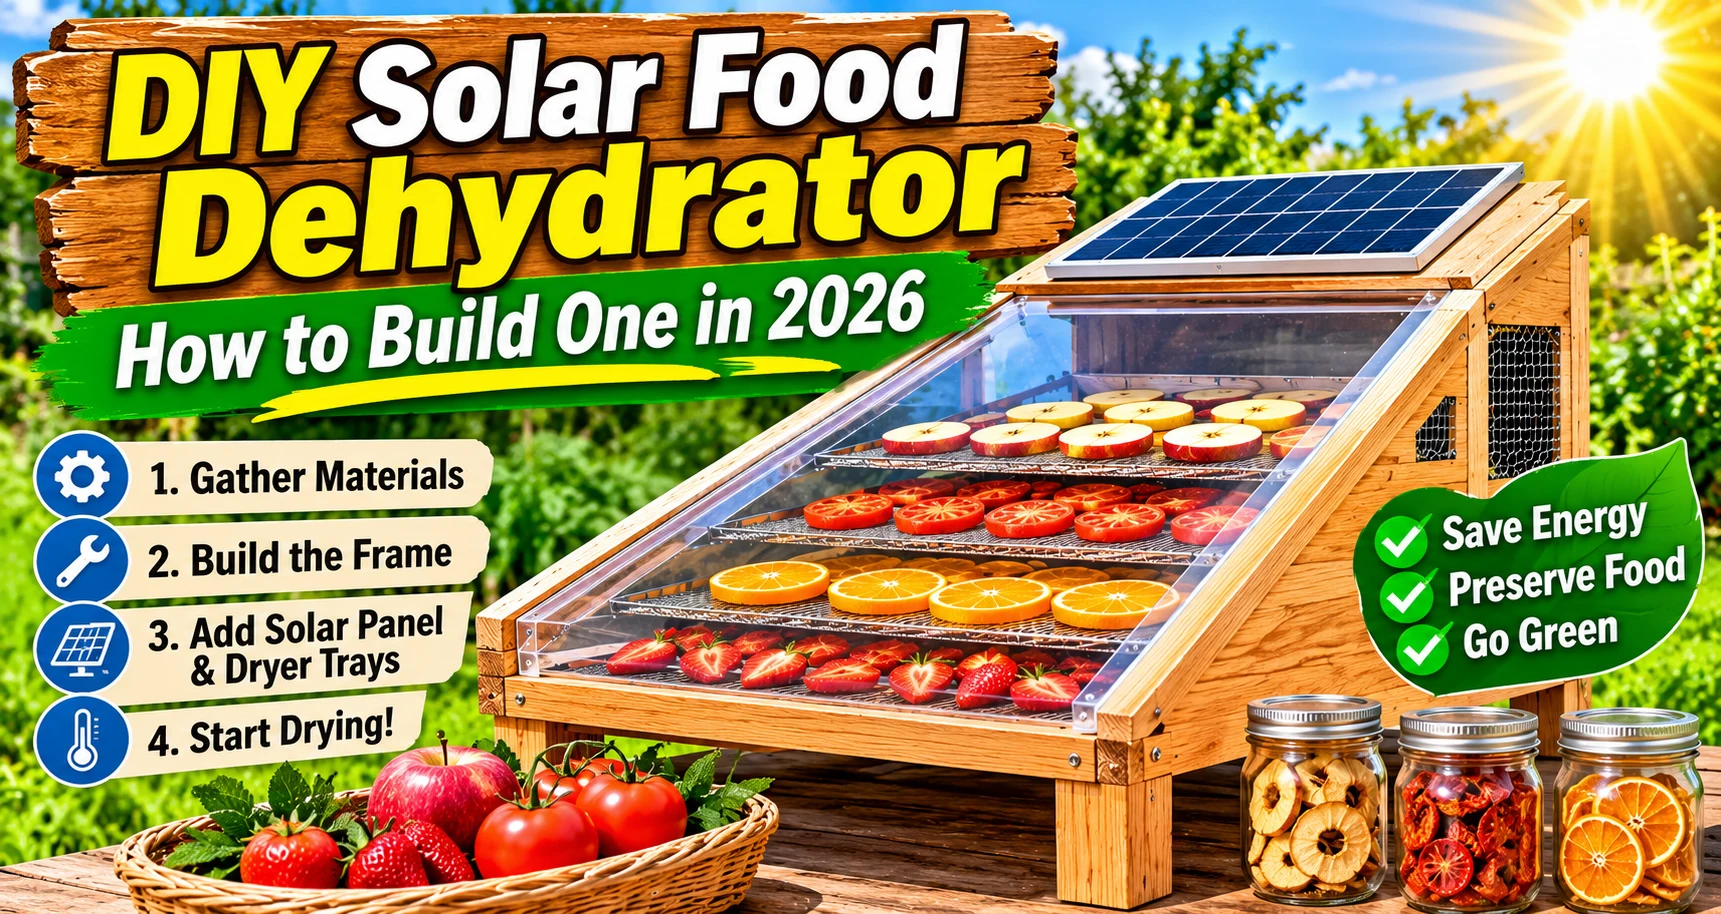
The design shown in the reference image contains several important parts. Each component contributes to solar heating, airflow, food protection, or drying performance.
1. Transparent Solar Collector
The transparent front cover allows sunlight to enter the collector. Glass or suitable UV-resistant glazing may be used, depending on the design.
Behind the transparent cover, a dark absorber surface captures solar energy and helps warm the incoming air.
2. Drying Cabinet
The drying cabinet holds the trays and protects the food from outdoor contamination. It should be designed to limit unwanted heat loss while allowing controlled airflow.
Materials should be suitable for the expected temperatures and should not release harmful substances into the food area.
3. Food Drying Trays
Trays hold sliced fruits, herbs, and other suitable products. Food-grade stainless-steel mesh or suitable food-safe screens are practical choices because they allow air to pass around the food.
The trays should be removable for cleaning and inspection.
4. Fresh Air Inlet
The lower inlet supplies fresh air to the collector. A protective mesh can help prevent insects and larger debris from entering.
Air openings should be designed to avoid excessive resistance while maintaining suitable protection against contamination.
5. Chimney and Humid Air Outlet
The upper chimney allows warm, humid air to leave the cabinet. Its position and dimensions affect the natural airflow through the drying chamber.
A rain-protected outlet and insect screen can help protect the system from outdoor conditions.
6. Insulated Base and Cabinet
Insulation helps reduce unwanted heat loss, particularly through the bottom and shaded surfaces of the cabinet.
The insulation should be separated from the food area and protected from moisture, pests, and excessive temperatures.
4. Materials Needed to Build a DIY Solar Food Dehydrator
Before beginning construction, prepare the materials and decide how large the drying cabinet should be.
DIY Solar Dehydrator Materials Checklist
- Untreated, suitable timber or another appropriate cabinet material.
- Transparent glass or suitable solar glazing.
- Dark, non-toxic absorber surface.
- Food-grade stainless-steel or approved food-safe drying mesh.
- Insulation suitable for the construction and temperature range.
- Food-safe fasteners and appropriate construction hardware.
- Insect mesh for ventilation openings.
- A chimney or upper exhaust duct.
- Weather-resistant hinges and a suitable access door.
- Temperature and humidity monitoring instruments.
- Suitable sealants and protective finishes for exterior surfaces.
Avoid using pressure-treated or chemically treated timber where it could contact food or the drying air. Food-contact surfaces should be smooth, cleanable, and made from appropriate materials.
5. How to Build a Solar Food Dehydrator Step by Step
Building a solar dehydrator requires basic woodworking skills and careful planning. The following steps explain the main construction stages without assuming that one cabinet size or airflow arrangement is suitable for every climate.
Step 1: Choose the Cabinet Size
Start by deciding how much food you want to dry in one batch. A small household cabinet may be enough for herbs and occasional fruit drying, while a larger design may be more useful for a garden harvest.
Consider the available outdoor space, sunlight exposure, tray dimensions, and ease of access before cutting any materials.
Step 2: Build the Solar Collector Frame
Construct a frame that can support the transparent cover and the dark absorber surface.
The collector should face the direction that receives the most useful sunlight during the intended drying season. In the Northern Hemisphere, a generally south-facing orientation is often a useful starting point, but the best angle depends on location and seasonal use.
Step 3: Install the Transparent Cover
Secure the glazing to the collector frame using suitable weather-resistant fittings and seals.
Ensure that the cover is stable, protected from accidental impact, and easy to inspect or replace when necessary.
Step 4: Construct the Drying Chamber
Build the cabinet around the planned tray arrangement. Provide enough internal space for air to circulate around each tray.
Install smooth internal surfaces and make sure the cabinet can be cleaned without leaving food debris or moisture in hidden corners.
Step 5: Install the Trays
Fit removable trays inside the drying chamber. Leave adequate space between them so that warm air can reach the food and moisture can escape.
Do not overload the trays. Food should generally be arranged in a single layer according to the tested drying instructions for the particular product.
Step 6: Add the Air Inlet and Chimney
Install a protected air inlet near the lower part of the system and an exhaust opening near the top.
The chimney should be designed to encourage natural airflow without creating excessive resistance. Its outlet must be protected from rain and insects.
Step 7: Add Insulation and the Access Door
Insulate appropriate cabinet surfaces and fit a door that closes securely. The door should allow convenient tray loading and unloading while limiting uncontrolled air leakage.
Step 8: Test the Empty Dehydrator
Before placing food inside, operate the cabinet in sunny conditions and monitor its temperature and humidity at several locations.
Check whether air enters at the bottom, passes through the drying chamber, and exits through the upper vent. If airflow is weak or temperatures become excessive, adjust the design before using it for food preservation.
6. What Foods Can You Dry in a Solar Dehydrator?
A solar dryer can be useful for preserving selected fruits, herbs, and other suitable produce when the drying conditions are appropriate.
| Food | Preparation Considerations |
|---|---|
| Apples | Wash, core, and slice evenly; use a tested pretreatment if recommended. |
| Bananas | Peel and cut into even slices. |
| Grapes | Prepare according to a tested drying method; whole grapes can take longer. |
| Tomatoes | Use a tested dehydration method and controlled conditions. |
| Herbs | Use gentle drying conditions and protect leaves from dust and insects. |
| Peppers | Clean and prepare evenly; protect from contamination. |
Food suitability depends on the product, preparation, weather, and drying method. Do not assume that every fruit or vegetable can be safely preserved using the same process.
7. Temperature, Humidity, and Airflow: The Three Important Factors
Successful food drying requires more than simply exposing food to sunlight. Temperature, humidity, and air circulation work together to remove moisture efficiently.
Temperature
Solar heating raises the air temperature inside the cabinet. However, excessive heat can damage food quality or cause the outside of a piece to dry too quickly while moisture remains inside.
Use a thermometer and follow tested, food-specific drying instructions. Do not rely on a single universal temperature for every product.
Humidity
Dry air generally accepts moisture more readily than humid air. When outdoor humidity is high, drying may take longer and the risk of spoilage can increase.
Air Circulation
Moving air carries moisture away from the food. The lower inlet and upper outlet should provide a clear airflow path through the trays.
If air cannot circulate properly, some trays may dry more slowly than others.
8. How Long Does It Take to Dry Food?
Drying time varies considerably. It depends on the food’s water content, slice thickness, pretreatment, solar intensity, airflow, temperature, and relative humidity.
A sunny, dry day may provide useful drying conditions, while cloudy or humid weather can slow the process significantly.
For this reason, it is not reliable to promise that a particular food will be ready after a fixed number of hours in a homemade solar dehydrator.
Follow a tested recipe and check the finished texture using the recommended method. Do not package food that is still moist in the center.
9. Benefits of a DIY Solar Food Dehydrator
Uses sunlight as the main source of drying heat.
A passive design can operate without an electric heating element or fan.
Helps preserve suitable seasonal produce when used correctly.
Can be used for multiple batches with appropriate cleaning and maintenance.
Provides another way to use excess garden produce and seasonal fruit.
Can be useful in locations where electricity is limited or expensive.
10. Disadvantages and Limitations
Although a solar food dehydrator offers several advantages, it also has limitations that should be considered before building one.
Weather Dependence
The system depends on sunlight and suitable weather. Cloudy days, rain, and high humidity can reduce drying performance.
Less Temperature Control
Unlike an electric dehydrator with a thermostat, a basic passive solar dryer may experience changing temperatures throughout the day.
Uneven Drying
Trays in different positions may receive different amounts of heat and airflow. Monitoring and rotating trays may be necessary when the tested process allows it.
Limited Production Capacity
A small cabinet may only handle a modest amount of produce at a time.
Food Safety Considerations
Incorrect drying, insect exposure, contamination, or moisture remaining in stored food can lead to spoilage and potential food-safety risks.
11. Solar Food Dehydrator vs. Electric Food Dehydrator
Both systems remove moisture from food, but they operate differently.
| Feature | Solar Dehydrator | Electric Dehydrator |
|---|---|---|
| Energy Source | Sunlight | Electricity |
| Temperature Control | Limited in passive designs | Usually adjustable |
| Airflow | Natural or fan-assisted | Usually fan-assisted |
| Weather Dependence | High | Low |
| Operating Electricity | None for passive models | Required |
| Best Use | Suitable sunny conditions and small-scale drying | More controlled, repeatable drying |
An electric dehydrator generally offers more predictable temperature and airflow control. A solar dehydrator can reduce electricity use, but it requires suitable weather and careful monitoring.
12. Food Safety: What You Should Know Before Drying Food
Food preservation must be approached carefully. Removing moisture slows the growth of many microorganisms, but drying does not automatically destroy every pathogen or make every product safe.
Follow these important precautions:
- Use fresh, good-quality produce.
- Wash produce and prepare it using a tested recipe.
- Use clean food-contact trays and utensils.
- Protect food from insects, dust, animals, and rain.
- Monitor temperature and drying conditions.
- Use research-tested preparation and pretreatment instructions.
- Do not rely on passive solar drying for meat or poultry jerky.
- Cool dried food and package it in clean, moisture-resistant containers.
- Inspect stored food for moisture, mold, or unusual odors.
The National Center for Home Food Preservation provides tested guidance for drying different foods. Its guidance also explains that outdoor sun drying is not recommended for vegetables and meats because weather and drying conditions may be difficult to control.
13. How to Store Dried Food Properly
Once food has been dried using an appropriate tested method, correct storage helps protect it from moisture, insects, and contamination.
Cool the Food
Allow the dried produce to cool before packaging. Packaging warm food can encourage condensation inside the container.
Use Airtight Containers
Choose clean, dry containers that protect food from moisture and insects. Suitable sealed glass containers or appropriate food-storage packaging can be used.
Store in a Cool, Dark Place
Keep containers away from direct sunlight, heat sources, and damp environments.
Inspect Regularly
Check stored food for moisture, mold, insects, or unusual changes. Discard food that shows signs of spoilage.
14. Can a Solar Food Dehydrator Be Used in an Off-Grid Home?
Yes. A solar food dehydrator can be a useful addition to an off-grid property, especially for households that grow fruit, vegetables, and herbs.
It can complement other sustainable technologies, including:
- Solar panels and battery storage for household electricity.
- Rainwater harvesting systems where permitted and properly treated.
- Vegetable gardens and small-scale food production.
- Energy-efficient refrigeration for fresh food.
- Composting and other waste-reduction practices.
- Solar water heating and passive building design.
Because a passive solar dehydrator does not require an electric heating element or fan, it can operate independently of the household electrical system when sunlight and weather conditions are suitable.
For remote cabins and rural homes, this can provide an additional way to preserve seasonal produce without using substantial electrical energy.
15. Maintenance Tips for Better Performance
Regular maintenance helps keep a solar food dryer clean, efficient, and ready for use.
- Clean the drying trays after every batch.
- Inspect the insect screens and ventilation openings.
- Check the transparent cover for cracks or leaks.
- Remove dust from the solar collector.
- Inspect the cabinet for water damage and pest entry.
- Check that the access door closes properly.
- Inspect the chimney and exhaust opening for obstructions.
- Check the thermometer and humidity monitor for proper operation.
- Store the dehydrator under suitable protection when not in use.
16. Is Building a DIY Solar Food Dehydrator Worth It?
A DIY solar food dehydrator can be a worthwhile project if you have access to good sunlight, suitable outdoor space, and seasonal produce to preserve.
It offers an opportunity to learn about solar heating, natural convection, food preservation, and sustainable home design.
However, it is important to understand that a homemade passive dryer cannot provide the same predictable conditions as a controlled commercial dehydrator. If you need consistent results or want to preserve foods with more demanding safety requirements, a tested electric dehydrator or another validated method may be more appropriate.
Final Thoughts
A DIY solar food dehydrator is a practical example of using renewable energy for everyday household needs. By combining a solar collector, drying trays, an insulated cabinet, and natural airflow, it can help remove moisture from suitable foods without relying entirely on electricity.
With careful construction, suitable weather, proper monitoring, and research-tested food safety practices, a solar dryer can become a useful addition to a sustainable or off-grid lifestyle.
Frequently Asked Questions
1. What is a DIY solar food dehydrator?
It is a homemade cabinet that uses sunlight to heat air and remove moisture from suitable foods through controlled ventilation and airflow.
2. Does a solar food dehydrator need electricity?
A passive solar dehydrator can operate without electricity by using natural convection. A fan-assisted model requires electricity to move air.
3. What foods can be dried in a solar dehydrator?
Suitable fruits and herbs are common choices. Other foods require product-specific preparation and tested drying methods. Meat and poultry jerky should not be prepared using an uncontrolled passive solar dryer.
4. How long does solar food drying take?
Drying time depends on food type, slice thickness, temperature, humidity, airflow, and sunlight. Follow tested instructions rather than relying on a fixed number of hours.
5. Can I dry vegetables in a solar dehydrator?
Vegetables require careful preparation and controlled drying conditions. Follow a research-tested method. Traditional outdoor sun drying is not recommended for vegetables because weather and moisture conditions can be difficult to control.
6. Why does a solar dehydrator have a chimney?
The upper chimney allows warm, humid air to escape. This helps maintain airflow through the drying chamber and carries moisture away from the food.
7. Can a solar dehydrator work on cloudy days?
Performance generally decreases when sunlight is limited. Drying may slow down or become unreliable, so monitor conditions and use a suitable alternative method when necessary.
8. Is a solar food dehydrator suitable for off-grid living?
Yes. A passive model can preserve suitable produce using sunlight without consuming household electricity, making it a useful option for some off-grid homes and rural properties.
Disclaimer: This article is for educational purposes. Solar drying conditions vary by climate and food type. Use research-tested food preparation, drying, and storage procedures. A homemade passive solar dehydrator is not a substitute for validated food-safety equipment or processes.