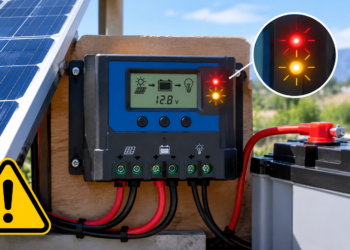

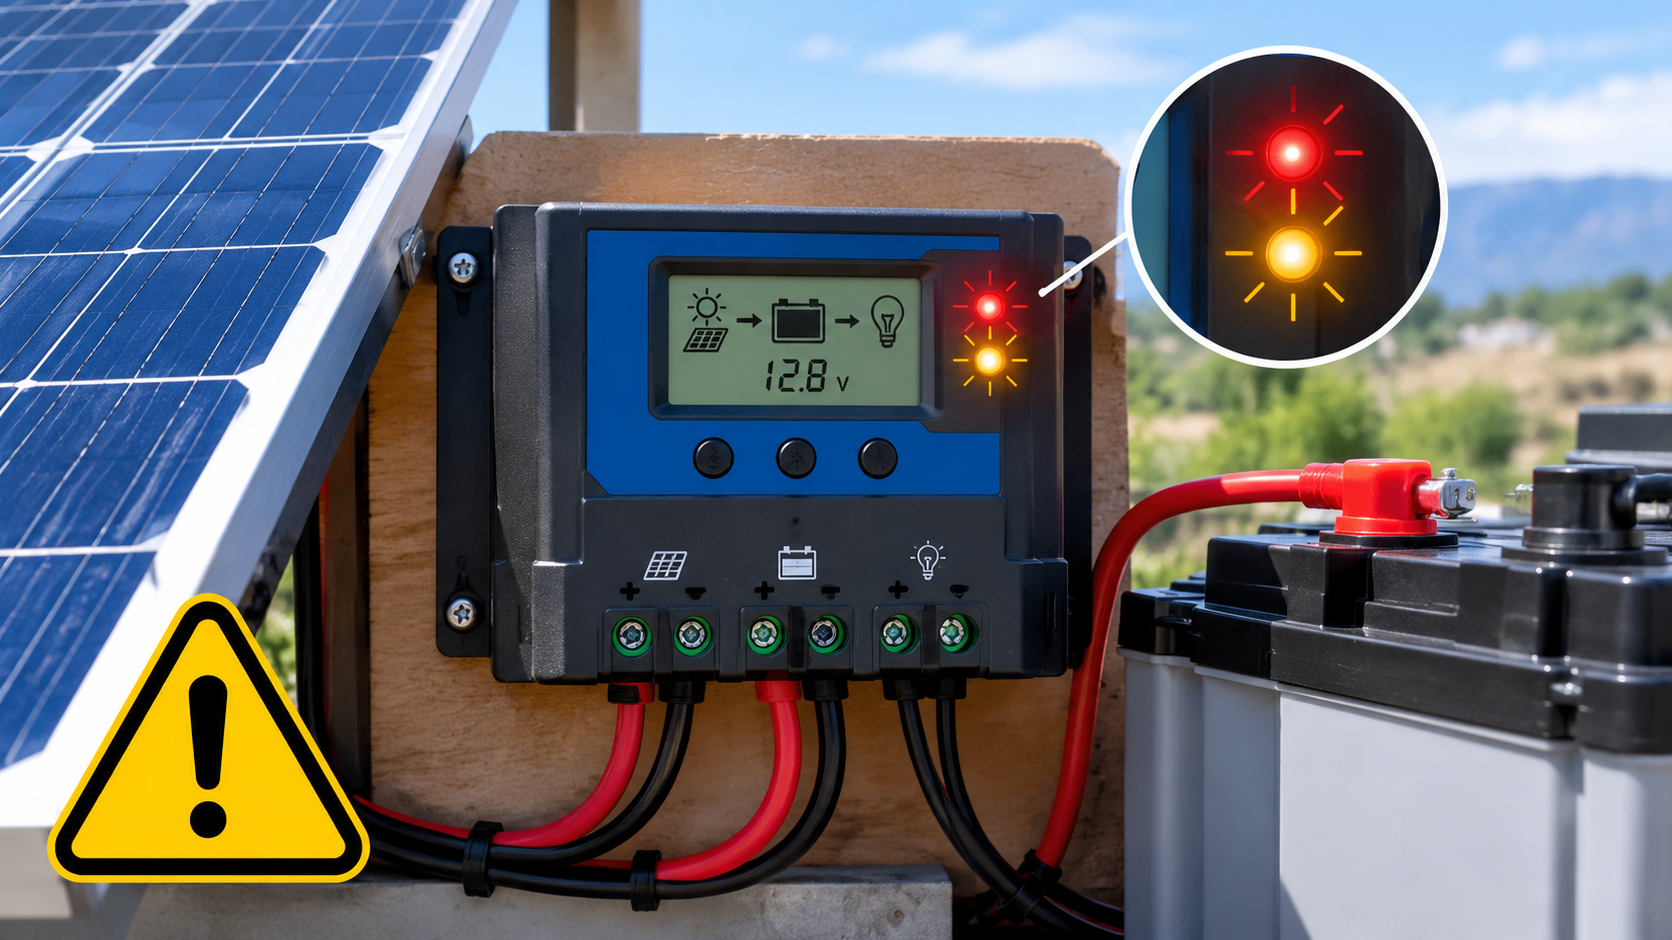
Seeing a solar charge controller flashing red/yellow can be confusing, especially when your solar panels appear to be working normally.
A flashing red or yellow indicator usually means the controller has detected a warning, fault, unusual battery condition, or charging problem. However, there is no universal red/yellow LED code for every solar charge controller. The exact meaning depends on the brand, model, LED pattern, and battery system. Manufacturer documentation shows that different controllers use red, yellow, orange, and green indicators differently.
The good news is that many problems can be diagnosed with a few basic checks.
Related Post

This guide explains why your solar charge controller may be flashing red/yellow, what to check first, how to test the battery and solar input, and when you should stop troubleshooting and contact a professional.
Safety note: Solar PV wiring can produce dangerous DC voltage and current. If you are not comfortable testing electrical equipment, use a qualified solar installer or electrician. Always follow the exact manual for your controller.
What Does a Red/Yellow Flashing Solar Charge Controller Mean?
A red/yellow flashing light generally indicates that the controller is not operating in its normal charging state.
Possible causes include:
- Low battery voltage
- Battery over-voltage
- Incorrect battery type setting
- Solar-panel input problem
- PV over-voltage
- Loose or damaged wiring
- Reverse polarity
- Overload
- Short circuit
- Controller overheating
- Battery BMS protection
- Incorrect system voltage
- Internal controller fault
But the color alone is not enough to identify the problem.
For example, some controllers use yellow/orange to indicate a low battery, while others use red flashing for overload or short circuit. Some systems use specific flash counts to identify different faults.
The first step is therefore to identify your exact controller model and check its LED-code table.
Step 1: Identify Your Solar Charge Controller
Before changing wiring or settings, find the controller’s:
- Brand
- Model number
- Voltage rating
- Maximum charging current
- PV voltage rating
- Battery type
Look for a label on the front, side, or back of the controller.
Common types include:
- PWM solar charge controllers
- MPPT solar charge controllers
- 12V controllers
- 24V controllers
- 48V controllers
- Lithium-compatible controllers
Search the manufacturer’s manual using the exact model number.
This matters because the same LED color can mean completely different things on different controllers.
For example, Morningstar documents red flashing as an error condition on certain equipment, while other controllers use red flashing specifically for overload or short-circuit conditions.
Step 2: Check Whether the Battery Is Connected Correctly
The battery is one of the first things to check.
A charge controller needs a correctly connected battery to determine the system voltage and charging conditions.
Check:
- Battery positive cable
- Battery negative cable
- Controller BAT+ terminal
- Controller BAT− terminal
- Battery fuse
- Circuit breaker
- Cable connections
- Corrosion
- Signs of overheating
Renogy’s current troubleshooting guidance recommends checking the battery voltage directly at the battery terminals and comparing it with the voltage measured at the controller’s battery terminals.
If the battery voltage is normal but the controller measures something substantially different, the problem may be in:
- Cable size
- Cable length
- Fuse
- Terminal connection
- Corrosion
- Damaged wiring
Step 3: Measure the Battery Voltage
A digital multimeter can help determine whether the battery is actually at the voltage shown by the controller.
Set the multimeter to the appropriate DC voltage range.
Measure directly across the battery terminals.
Then measure the voltage at the controller’s battery terminals.
The readings should be reasonably close when the system is correctly wired.
Why this matters
A controller can behave differently when the battery voltage is:
- Too low
- Too high
- Outside its supported system voltage
- Falling rapidly under load
- Being disconnected by a battery-management system
Some charge controllers identify battery under-voltage, over-discharge, or over-voltage using red, yellow, or orange indicators.
Step 4: Check the Battery Type Setting
If your controller supports different battery profiles, check that the selected setting matches your actual battery.
Typical options can include:
- Flooded lead-acid
- AGM
- Gel
- Lithium
- User-defined/custom
Using an incorrect charging profile can cause charging problems.
For lithium batteries, do not guess the charging voltage.
Instead, use the battery manufacturer’s specifications.
Renogy specifically recommends confirming the battery system voltage and chemistry and reviewing the charging parameters before changing settings.
Step 5: Check the Solar Panel Voltage
If the battery appears normal, inspect the PV side.
During daylight, with the panels receiving sunlight, measure the voltage at the controller’s PV terminals only if you are qualified to safely perform the measurement.
Compare the measured voltage with the solar-panel specifications.
Look at:
- Voc — open-circuit voltage
- Vmp — voltage at maximum power
- Isc — short-circuit current
- Imp — current at maximum power
A PV voltage that is much lower than expected can be caused by:
- Shade
- Damaged panels
- Loose connectors
- Broken wiring
- Incorrect series/parallel configuration
- Poor connections
- A disconnected string
Renogy’s troubleshooting guidance recommends comparing PV-terminal voltage with the panel specifications and checking wiring and polarity.
Step 6: Check for PV Over-Voltage
One of the most important solar-controller checks is maximum PV voltage.
Connecting too many panels in series can increase the voltage beyond the controller’s maximum input rating.
For example:
Panel 1 Voc + Panel 2 Voc + Panel 3 Voc = total string Voc
And temperature can affect PV voltage, so the calculation should account for the conditions specified by the panel and controller manufacturers.
Never assume that a controller capable of handling a certain number of watts can automatically handle any panel configuration.
A controller may have separate limits for:
- Maximum PV wattage
- Maximum PV voltage
- Maximum PV current
Some modern controllers explicitly report PV over-voltage as a fault.
Step 7: Inspect Every Cable and Connector
Loose connections are easy to overlook.
Inspect the system for:
- Loose terminal screws
- Damaged insulation
- Burn marks
- Melted connectors
- Corrosion
- Broken MC4 connectors
- Reversed polarity
- Undersized cables
- Loose battery terminals
A poor connection can create resistance and heat.
If you see melting, burning, smoke, or severe discoloration, stop using the system and have it inspected by a qualified professional.
Do not simply tighten or replace a visibly damaged connection while the system is energized.
Step 8: Check for Reverse Polarity
Solar panels and batteries have positive and negative terminals.
Connecting them backward can cause faults and potentially damage equipment.
Use the wiring diagram supplied with your controller.
Before changing connections, follow the manufacturer’s shutdown/disconnection sequence.
Do not assume that a red cable is correctly connected simply because it is red.
The actual polarity should be verified.
Step 9: Check for Overload or Short Circuit
Some solar controllers use red flashing indicators when the load output is overloaded or short-circuited.
For example, certain controller manuals distinguish between:
- Slow red flashing = overload
- Fast red flashing = short circuit
But this is not a universal code.
If your controller indicates an overload:
- Turn off unnecessary loads according to the manual.
- Check the load wiring.
- Look for damaged equipment.
- Check the controller’s rated load current.
- Reset the controller using the manufacturer’s procedure.
Never repeatedly reset a controller when a short circuit remains.
Step 10: Check Controller Temperature
Solar charge controllers can become hot, especially when operating at high current.
Check whether:
- The controller is exposed to direct heat
- Ventilation openings are blocked
- It is installed inside a hot enclosure
- Cables are generating excessive heat
- The controller is operating near its rated current
Some controllers shut down their input and output when internal temperatures become excessive. For example, documentation for certain controllers specifies automatic protection at high heat-sink temperatures.
Allow the equipment to cool according to the manufacturer’s instructions.
Do not place ice or water directly on the controller.
Step 11: Check the Battery Management System
If you have a lithium battery, the BMS (Battery Management System) can disconnect charging or discharging when it detects an unsafe condition.
Possible triggers include:
- Battery over-voltage
- Very low battery voltage
- Excessive temperature
- Low-temperature charging protection
- Excessive current
- Internal battery fault
If the controller suddenly stops charging even though the solar panels are producing power, check whether the battery’s BMS has disconnected the charging path.
Do not bypass the BMS.
Step 12: Check the System Voltage
Make sure the controller and battery are designed for the same nominal system.
For example:
- 12V battery system
- 24V battery system
- 48V battery system
A controller configured for the wrong system voltage can produce warnings or fail to charge correctly.
Some controller manuals specifically identify system-voltage errors as a cause of flashing indicators.
Red/Yellow Flashing: Common Causes
| Symptom | Possible Cause | What to Check |
|---|---|---|
| Red flashing | Fault or warning | Controller manual |
| Yellow/orange indicator | Low battery on some models | Battery voltage |
| Red flashing rapidly | Possible short circuit on some models | Load wiring |
| Red flashing slowly | Possible overload on some models | Connected loads |
| No solar charging | PV problem | PV voltage and connections |
| Battery not detected | Battery wiring/fuse | Battery terminals |
| Controller very hot | Over-temperature | Ventilation/load |
| PV alarm | PV voltage/current issue | Panel specifications |
| Charging stops suddenly | Battery/BMS protection | Battery status |
| All LEDs flashing | Model-specific fault | Exact manual |
Important: This table is a troubleshooting starting point, not a universal LED-code chart. LED meanings vary by manufacturer and model.
What If the Solar Panels Are Working but the Battery Is Not Charging?
This is a common situation.
If the controller detects solar voltage but the battery is not charging, check these areas:
1. Battery voltage
Measure the actual battery voltage.
2. Battery settings
Confirm the selected battery chemistry and charging parameters.
3. Battery BMS
For lithium batteries, check whether the BMS has disabled charging.
4. PV power
Voltage alone does not guarantee meaningful charging current.
The panels may have voltage but insufficient available power because of:
- Heavy clouds
- Shade
- Dirt
- Poor orientation
- Damaged panels
- Incorrect wiring
5. Controller temperature
An overheated controller may reduce or stop charging.
What If the Red/Yellow Light Appears Only at Night?
Solar charge controllers often behave differently after sunset.
When there is no usable PV input, some controllers show a different charging-state indication.
Therefore, do not diagnose a fault based solely on the color you see at night.
Check the controller during daylight and inspect its actual battery and PV readings.
What If the Light Flashes Only in the Morning?
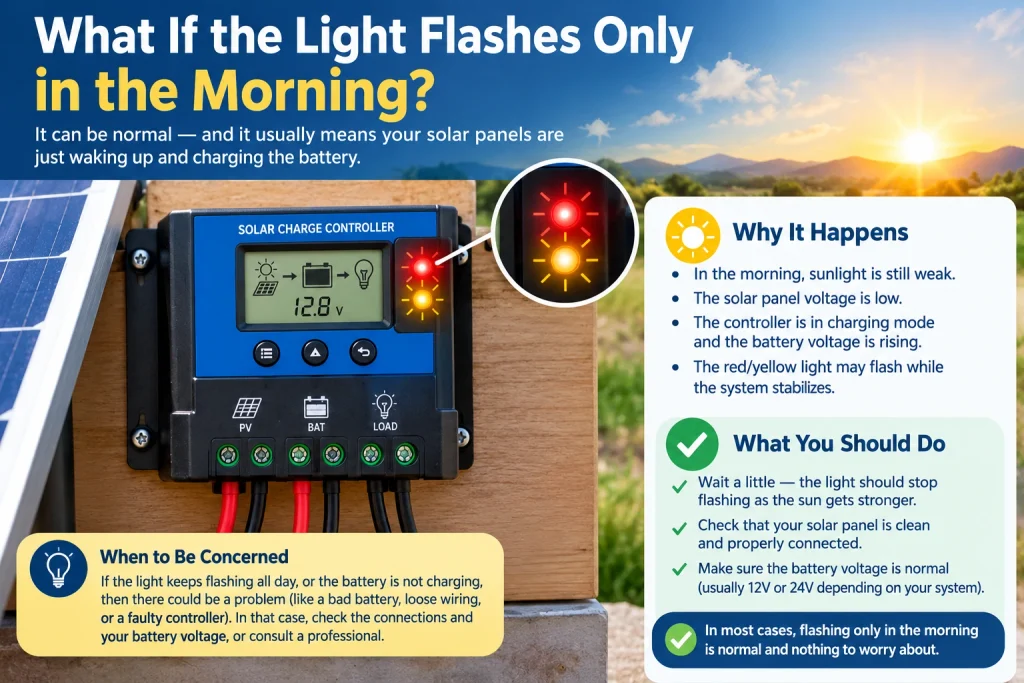
Morning startup can produce different charging behavior because the PV voltage gradually rises as sunlight increases.
If the warning disappears after the solar array reaches normal operating voltage, the issue could be related to:
- Low morning PV voltage
- Shading
- Panel orientation
- Cold-start behavior
- Controller startup thresholds
However, the exact interpretation depends on the model.
What If the Controller Flashes Red/Yellow After Connecting New Solar Panels?
If the problem started immediately after adding panels, check the PV configuration first.
You may have exceeded:
- Maximum PV voltage
- Maximum PV current
- Maximum PV power
For panels connected in series, voltage increases.
For panels connected in parallel, current increases.
For a new array, calculate the electrical characteristics using the actual panel datasheet rather than relying only on the panel’s wattage.
How to Reset a Solar Charge Controller
A reset procedure depends on the controller.
Some controllers can be reset through:
- A physical button
- An app
- A display menu
- Disconnect/reconnect sequence
- A specific power-down procedure
Do not randomly disconnect battery and solar cables.
Some manufacturers specify a particular order for disconnecting and reconnecting the system.
Follow the manual for your exact controller.
When Should You Stop Troubleshooting?
Stop and seek professional assistance if you find:
- Burned wires
- Melted connectors
- Smoke
- Sparks
- Severe overheating
- Damaged battery casing
- Swollen battery
- Strong chemical odor
- Repeated high-voltage faults
- Unknown DC voltage
- A persistent internal controller fault
A lithium battery that is physically damaged, swollen, unusually hot, or emitting an unusual odor should not be opened or repaired by an unqualified person.
A Simple Diagnostic Checklist
Before replacing your solar charge controller, work through this checklist:
Battery
☐ Correct battery voltage
☐ Correct battery polarity
☐ Battery fuse intact
☐ Battery cables secure
☐ Correct battery type selected
☐ BMS operating normally
Solar panels
☐ Panels receiving sunlight
☐ PV polarity correct
☐ PV connectors secure
☐ PV voltage within controller limits
☐ PV current within controller limits
☐ Solar configuration matches the controller
Controller
☐ Correct system voltage
☐ No overheating
☐ No visible damage
☐ Correct charging settings
☐ Correct LED pattern identified
☐ No persistent error code
Loads
☐ No overload
☐ No short circuit
☐ Load current within controller rating
Should You Replace the Solar Charge Controller?
Not necessarily.
A flashing red/yellow light does not automatically mean the controller is defective.
In many cases, the underlying problem is:
- Battery voltage
- Wiring
- Fuse
- PV configuration
- Incorrect settings
- Overload
- Temperature
- Battery protection
Renogy’s troubleshooting guidance similarly recommends checking the battery, PV input, wiring, settings, and fault information before assuming that the controller itself has failed.
Only consider replacing the controller after the external causes have been eliminated and the manufacturer’s troubleshooting procedure indicates a hardware problem.
Frequently Asked Questions
Why is my solar charge controller flashing red?
A flashing red indicator can mean a fault, overload, short circuit, battery problem, over-temperature condition, or another warning depending on the controller model.
Check the exact LED code in your manufacturer’s manual.
Why is my solar charge controller flashing yellow?
Yellow or orange can indicate a low-battery or warning condition on some controllers, but the meaning varies by model.
Measure the battery voltage and check the manual before changing settings.
Can a low battery cause the controller to flash red and yellow?
Yes, on some controllers. Low battery voltage or battery protection can produce warning indicators.
However, the exact LED pattern is model-specific.
Why is my solar charge controller not charging?
Possible causes include low PV voltage, incorrect wiring, insufficient sunlight, incorrect battery settings, battery BMS protection, PV over-voltage, or a controller fault.
Can a bad battery cause a solar controller fault?
Yes. A battery with abnormal voltage, a disconnected BMS, damaged wiring, or an incorrect battery profile can prevent normal charging.
Can too many solar panels cause the red light to flash?
Yes. If the array exceeds the controller’s PV voltage, current, or power limits, the controller may report a PV fault.
Should I disconnect the solar panels when the controller flashes red?
Do not disconnect equipment randomly while energized. Follow the manufacturer’s shutdown procedure for your exact controller.
Is a flashing red light always dangerous?
No. Some controllers use flashing red to indicate a user-correctable warning rather than an immediate dangerous condition.
But electrical faults should never be ignored, particularly if there is heat, smoke, burning, or damaged wiring.
Final Takeaway
If your solar charge controller is flashing red/yellow, don’t immediately replace the controller.
Start by identifying the exact model and its LED-code definitions. Then systematically check the battery, battery voltage, PV voltage, wiring, polarity, system voltage, charging settings, temperature, and connected loads.
The most important point is that red and yellow lights do not have one universal meaning across all solar charge controllers. Different manufacturers and models use different LED patterns and flash sequences.
If you can safely test the system, a multimeter, the solar-panel specification sheet, the battery specifications, and the controller manual are the most useful starting tools.
If you discover overheating, damaged wiring, battery damage, smoke, or an unexplained electrical fault, stop troubleshooting and contact a qualified professional.