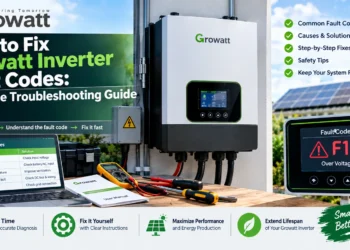

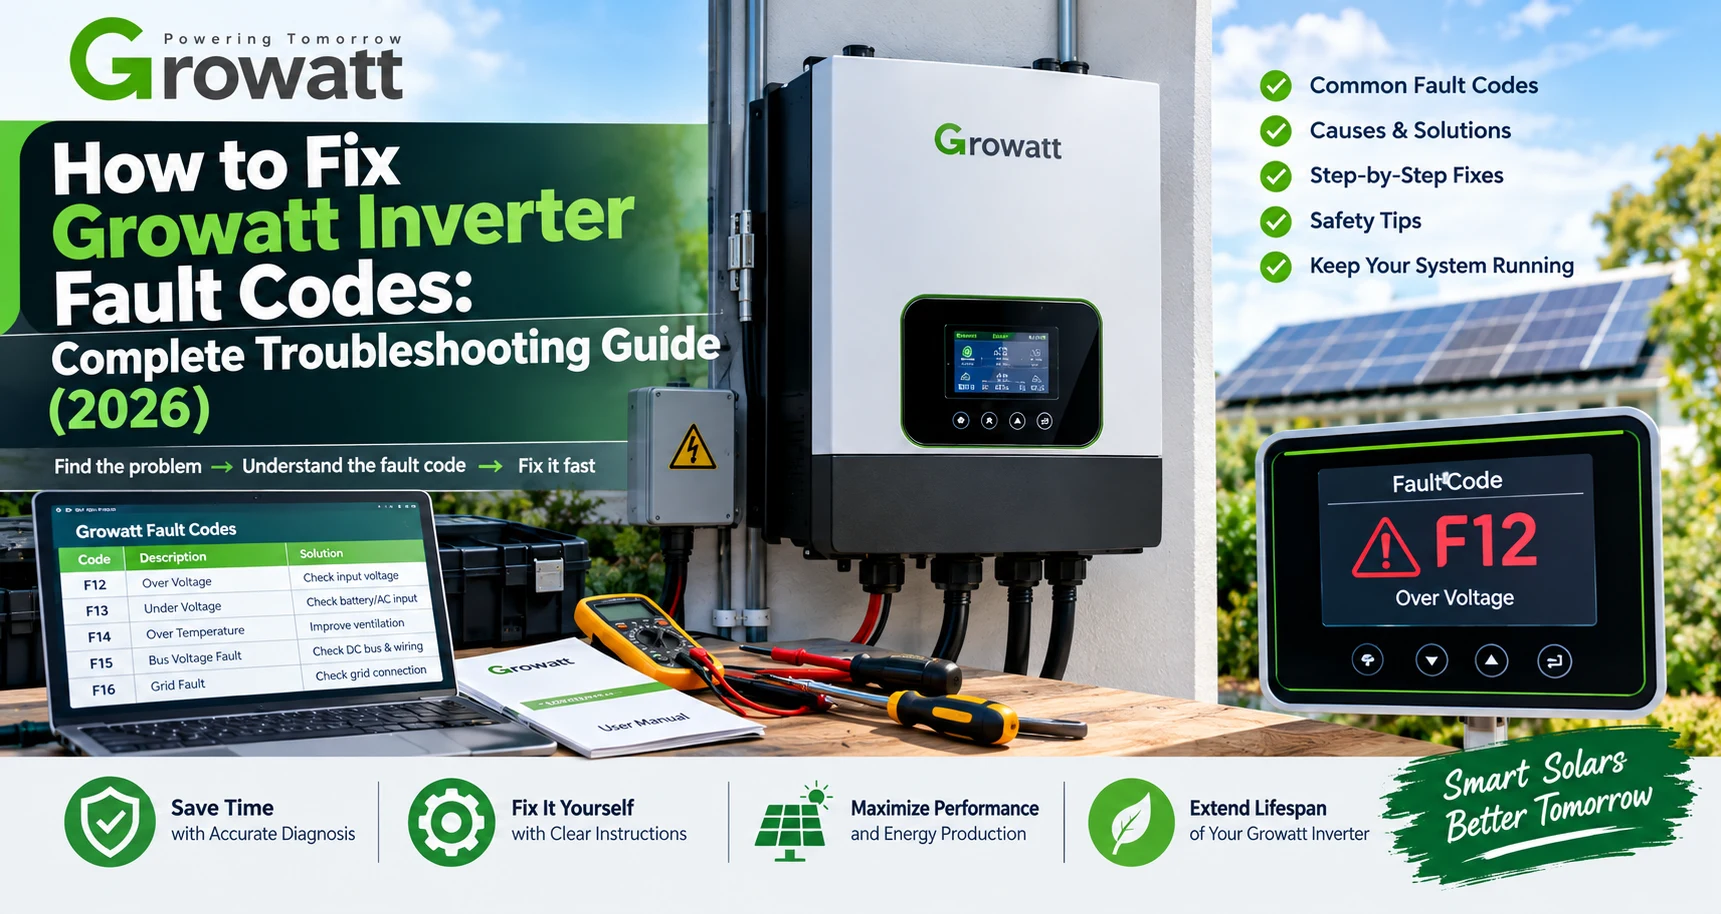
A Growatt inverter fault code can be frustrating, especially when your solar panels stop generating electricity, your battery stops charging, or your home loses backup power. The good news is that some inverter warnings are related to temporary operating conditions, while others indicate a problem that requires professional attention.
This Growatt inverter fault codes troubleshooting guide explains how to identify common errors, understand possible causes, and determine the safest next step.
Whether you use a Growatt grid-tied inverter, an off-grid solar inverter, or a hybrid inverter with battery storage, this guide will help you troubleshoot common issues without guessing or risking damage to your solar system.
Important: Growatt uses different fault-code systems across its inverter product families. A code that means one thing on an off-grid model may have a different meaning on a grid-tied or hybrid model. Always verify the exact code against the official manual for your inverter.
Related Post
Quick Guide: What to Do When Your Growatt Inverter Shows a Fault
If your Growatt inverter displays an error, follow these initial checks:
- Record the exact fault code and message shown on the display or monitoring app.
- Find your inverter’s exact model number.
- Check whether the warning appears continuously or only under certain conditions.
- Look for externally visible issues, such as blocked ventilation or obvious cable damage, without touching electrical connections.
- Consult the model-specific manual to identify the recommended action.
- Contact a qualified solar technician if the fault indicates an electrical, insulation, battery, or internal hardware problem.
Do not repeatedly restart the inverter without understanding the fault. Some errors indicate conditions that should be investigated before the equipment is returned to service.
What Are Growatt Inverter Fault Codes?
Growatt inverter fault codes are diagnostic messages that help identify abnormal operating conditions. Depending on the model, the inverter may display a numbered error, a warning, a description, or an alarm through its screen or monitoring platform.
Common problem categories include:
- Solar panel input voltage that is too high.
- Low insulation resistance in the photovoltaic system.
- Battery faults or battery communication problems.
- Excessive electrical load.
- Output short circuits.
- Overheating.
- Grid voltage or frequency abnormalities.
- Internal communication or hardware faults.
Not every warning means the inverter is broken. Some messages identify an external condition, such as an unsuitable grid voltage, while others may require inspection or repair by an authorized service provider.
For official troubleshooting information, consult the Growatt inverter support FAQs, the Growatt off-grid inverter FAQs, and the official Growatt manual download page.
Common Growatt Inverter Fault Codes and Possible Solutions
The following table provides a starting point for troubleshooting. It combines examples from Growatt’s official support information for different inverter families.
Important: These codes are not universal. Confirm the code’s meaning and recommended action in the manual for your exact model before attempting any troubleshooting.
| Growatt fault code | Meaning or reported problem | Recommended next step |
|---|---|---|
| Fault 01 | Fan fault on certain off-grid models | Check for visible ventilation obstructions. Arrange service if the fan has failed. |
| Fault 02 | High internal temperature on certain off-grid models | Check the surrounding temperature and ensure external ventilation openings are not blocked. |
| Fault 03 | Battery overvoltage or battery voltage too high on some models | Verify the model-specific battery specifications and charging configuration with a qualified technician. |
| Fault 04 | Battery voltage too low on certain off-grid models | Check the battery status through the approved monitoring interface and consult the battery manual. |
| Fault 05 | Output short circuit on certain off-grid models | Stop using the affected output and arrange a qualified inspection if the problem persists. |
| Fault 07 | Overload on certain off-grid models | Reduce connected loads if safe to do so, then follow the model-specific troubleshooting instructions. |
| Fault 08 | Bus voltage too high on certain models | Follow the official manual and contact Growatt service if the fault remains. |
| Fault 20 | Battery management system (BMS) communication failure on certain models | Have the battery communication configuration and approved connections checked. |
| Fault 51 | Overcurrent or surge on certain models | Investigate the cause through the official troubleshooting procedure. Seek service if the error returns. |
| Fault 52 | Bus voltage too low on certain models | Check the official troubleshooting instructions, including whether excessive load or battery limitations may be involved. |
| Fault 56 | Battery connection problem or related condition on certain models | Have the battery configuration and connections inspected by a qualified technician. |
| Error 202 | High DC voltage on certain grid-tied models | Have the PV string voltage checked against the inverter’s maximum input specification. |
| Error 203 | PV insulation resistance too low on certain grid-tied models | Stop and arrange a qualified inspection of the PV wiring and insulation. |
| Error 401 | Meter communication fault on certain models | Have the meter, configuration, and communication wiring checked. |
| Error 405 | Relay fault on certain models | Follow the official manual and contact Growatt service if the fault persists. |
| Error 408 | Excessive temperature on certain models | Check external ventilation conditions and arrange service if overheating continues. |
| Error 411 | Internal communication fault on certain models | Record the model and firmware information and contact Growatt support if the error persists. |
These examples are based on Growatt’s published troubleshooting resources for different product families. They should not be treated as a single universal fault-code list.
Sources: Growatt off-grid inverter FAQs, Growatt on-grid inverter FAQs, and Growatt USA support FAQs.
1. How to Fix Growatt Fault 01: Fan Fault
On some Growatt off-grid inverter models, Fault 01 indicates a fan-related problem.
Possible causes
- The cooling fan has failed.
- Dust or other material is obstructing airflow.
- The inverter is operating in a hot environment.
- An internal fan-control problem is present.
What should you do?
First, observe the inverter from the outside. Make sure its ventilation openings are not obstructed and that the surrounding area meets the manufacturer’s installation requirements.
Do not remove the inverter cover or attempt to replace an internal fan while the unit is connected to electrical sources.
If the fan is not operating as expected or the error remains, contact a qualified technician or Growatt support.
2. How to Fix Growatt Fault 02: High Temperature
On certain off-grid models, Fault 02 is associated with excessive internal component temperature. Other models may display a different code for overheating.
Possible causes
- High ambient temperature.
- Poor ventilation around the inverter.
- Blocked external airflow openings.
- A cooling-system fault.
- Excessive operating demand under unfavorable conditions.
Troubleshooting steps
- Check whether the inverter is exposed to unusually high temperatures.
- Make sure external ventilation openings are not blocked.
- Check for visible signs of damage or unusual discoloration without touching electrical components.
- Allow the equipment to cool according to the manufacturer’s instructions.
- Consult the correct manual if the fault continues.
Do not open the inverter or attempt internal repairs. If overheating happens repeatedly, a qualified technician should investigate the cause.
3. How to Fix Growatt Fault 03: Battery Voltage Too High
On some Growatt off-grid inverter models, Fault 03 can indicate battery overvoltage. The exact meaning depends on the inverter family.
Possible causes
- Incorrect battery-type selection.
- Charging settings that do not match the battery manufacturer’s requirements.
- An unsuitable battery-bank configuration.
- A battery monitoring or voltage-measurement problem.
Recommended action
Check the battery status using the manufacturer’s approved monitoring method. Compare the configured battery type and charging requirements with the documentation for both the inverter and the battery.
Do not increase or decrease charging limits randomly to make the warning disappear. Incorrect settings can damage the battery or create a safety risk.
If the displayed voltage appears inconsistent with the battery manufacturer’s monitoring information, have a qualified technician investigate it.
4. How to Fix Growatt Fault 04: Battery Voltage Too Low
On certain off-grid models, Fault 04 indicates that battery voltage is too low.
Possible causes
- A depleted battery.
- Heavy electrical demand.
- A battery that cannot deliver the required power.
- A battery-management-system shutdown.
- A battery or inverter configuration issue.
Troubleshooting steps
Check the battery’s state of charge through its approved monitoring interface. If the battery is low, follow the battery and inverter manufacturers’ instructions for charging it safely.
If the battery repeatedly reaches a low-voltage condition, review the system’s energy demand and battery capacity with a qualified installer.
If the battery reports a fault or disconnects unexpectedly, do not bypass its protection system.
5. How to Fix Growatt Fault 05: Output Short Circuit
On certain Growatt off-grid models, Fault 05 indicates an output short circuit.
A short circuit can create dangerous electrical conditions. Treat this error more seriously than a routine monitoring warning.
Possible causes
- A faulty appliance.
- Damaged output wiring.
- An electrical installation problem.
- An internal inverter fault.
What should you do?
Stop using the affected output and follow the model-specific safety instructions. Do not touch exposed wiring or attempt to test energized terminals.
A qualified electrician or solar technician should determine whether the problem is in the connected equipment, wiring, or inverter itself.
If the error remains after the approved troubleshooting process, contact Growatt support.
6. How to Fix Growatt Fault 07: Overload Error
Fault 07 indicates an overload condition on certain Growatt off-grid models.
An overload can occur when connected equipment demands more power than the inverter can supply within its operating limits. Some appliances, particularly those with motors or compressors, also draw additional power when starting.
Common causes
- Too many appliances operating simultaneously.
- A pump or refrigerator creating a high startup demand.
- An inverter that is too small for the connected loads.
- A problem with connected equipment.
Troubleshooting steps
- Identify the appliances that were operating when the error appeared.
- If safe, reduce the connected load using the normal controls and procedures recommended by the manufacturer.
- Check the inverter’s continuous power rating and surge capability.
- Compare those ratings with the combined operating and startup requirements of the equipment.
- Follow the model-specific reset procedure only if the manual permits it.
If the fault returns with a reasonable load, arrange professional diagnosis. Do not assume the inverter is defective before the load and installation have been checked.
7. How to Fix Growatt Fault 08: Bus Voltage Too High
On some Growatt inverter models, Fault 08 is associated with excessive internal bus voltage.
The cause may require technical diagnosis, and it cannot reliably be identified from the code alone.
What should you do?
- Record the fault and the circumstances in which it appeared.
- Check the model-specific manual.
- Follow only the troubleshooting actions approved by Growatt.
- Contact Growatt service if the error persists or returns.
Do not open the inverter or attempt to replace internal electronic components. A persistent internal voltage fault requires qualified attention.
8. How to Fix Growatt Fault 20: Battery Communication Failure
On certain models, Fault 20 indicates a battery management system communication problem. The code’s meaning can differ across inverter families.
Possible causes
- A communication cable or connection problem.
- An incorrect battery communication protocol.
- Incompatible inverter and battery settings.
- A battery BMS fault.
- A firmware or configuration issue.
Recommended checks
Check the inverter and battery manuals to confirm that the battery is supported and that the correct communication method is being used.
You can review the information available through the normal monitoring interface, but do not disconnect battery communication cables while the system is energized.
If the fault continues, ask a qualified installer to verify compatibility, configuration, and communication wiring.
9. How to Fix Growatt Fault 51: Overcurrent or Surge
Fault 51 is associated with overcurrent or surge conditions on some Growatt off-grid models.
Possible causes
- A sudden surge in electrical demand.
- A connected load problem.
- An electrical disturbance.
- An inverter or protection-circuit fault.
Recommended action
Record when the fault occurred and whether a particular appliance was starting or operating at the time.
Follow the model-specific troubleshooting procedure. If the error returns, stop repeated restart attempts and contact an authorized service provider.
Do not bypass overcurrent protection or open the inverter to inspect internal components.
10. How to Fix Growatt Fault 56: Battery Connection Problem
On certain Growatt off-grid models, Fault 56 may indicate a battery connection problem or a related battery condition.
Possible causes
- A battery that is not communicating or connecting correctly.
- An unsuitable battery configuration.
- A battery protection shutdown.
- A fuse or internal hardware problem.
What should you do?
Check the battery status through the approved monitoring interface and compare the reported condition with the battery manufacturer’s documentation.
Do not remove battery cables, open electrical compartments, or replace fuses inside the inverter unless the procedure is specifically approved for qualified personnel.
If the battery is reporting a fault or the inverter repeatedly loses battery connection, contact your installer or Growatt support.
11. How to Fix Growatt Error 202: High DC Voltage
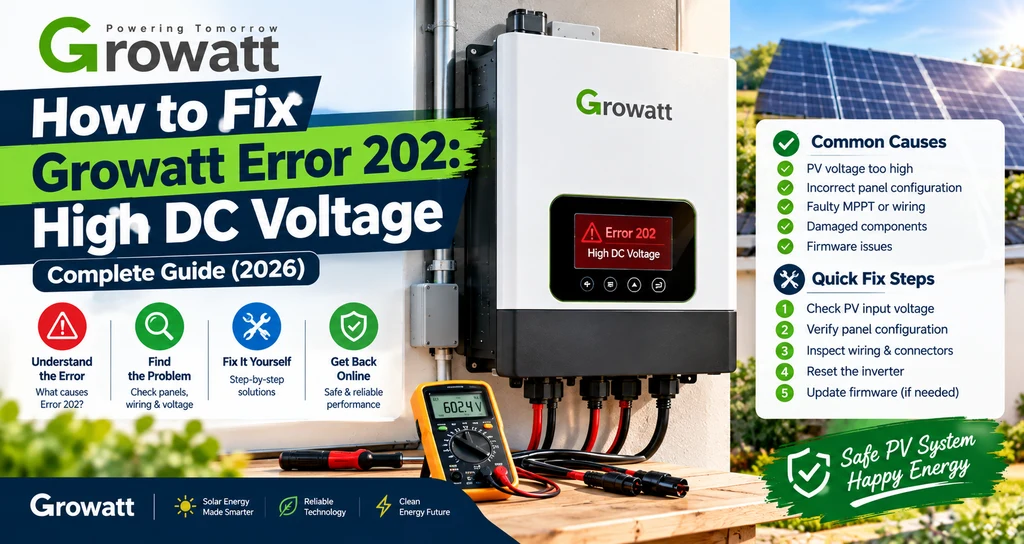
On certain Growatt grid-tied inverter models, Error 202 indicates that the PV input voltage is too high.
This can occur if the solar-panel string configuration exceeds the inverter’s permitted DC input voltage.
Why is this important?
Solar-panel open-circuit voltage changes with temperature. The string voltage must remain within the inverter’s specified limits under the applicable environmental conditions.
Recommended action
Have a qualified solar technician verify:
- The number of modules connected in each string.
- The modules’ electrical specifications.
- The string’s calculated open-circuit voltage.
- The inverter’s maximum permitted DC input voltage.
- The expected voltage under the lowest design temperature.
Do not disconnect PV connectors or measure live solar strings yourself. Solar panels can generate hazardous DC voltage whenever illuminated.
Official reference: Growatt USA support FAQs.
12. How to Fix Growatt Error 203: PV Insulation Resistance Too Low
On certain grid-tied Growatt inverters, Error 203 indicates that PV insulation resistance is too low.
This may point to an insulation or grounding problem within the photovoltaic installation.
Possible causes
- Damaged solar cables.
- Moisture entering a connector or electrical enclosure.
- Deteriorated cable insulation.
- A wiring or grounding issue.
- A faulty PV component.
What should you do?
Treat this as an electrical safety issue. Do not repeatedly restart the inverter in an attempt to clear the error.
A qualified solar technician should inspect the PV wiring, connectors, insulation, and grounding using appropriate equipment and the manufacturer’s procedures.
Do not unplug live PV connectors or attempt insulation-resistance testing without the required qualifications and equipment.
Official reference: Growatt on-grid inverter FAQs.
13. How to Fix Growatt Error 401: Meter Communication Fault
On certain Growatt systems, Error 401 indicates a meter communication fault.
A meter may be needed for functions such as monitoring grid import and export or controlling power flow in a compatible system.
Possible causes
- Meter power or communication problems.
- Incorrect configuration.
- A wiring issue.
- An incompatible meter or communication setup.
Recommended action
Check the monitoring interface for other relevant messages and confirm the exact meter model used in the installation.
A qualified installer can verify the meter’s configuration and communication wiring against the inverter manual.
Avoid changing advanced settings without understanding how they affect the system.
14. How to Fix Growatt Error 405: Relay Fault
Error 405 is identified as a relay fault in certain Growatt support documentation.
The cause may relate to a hardware problem or to conditions that occur during startup and self-checks.
Recommended action
Record whether the fault appears immediately after startup or after the inverter completes its initial checks.
Consult the correct manual and contact Growatt support if the error persists. Do not attempt to repair or replace internal relays yourself.
15. How to Fix Growatt Error 408: High Temperature
On certain Growatt models, Error 408 indicates that the inverter temperature is too high.
Check the external installation environment, airflow, and any visible obstruction to the cooling openings. If the temperature warning returns under normal conditions, a technician should investigate the cooling system and operating conditions.
Do not remove covers or touch internal components to try to cool the inverter.
16. How to Fix Growatt Error 411: Internal Communication Fault
Growatt identifies Error 411 as an internal communication fault on certain inverter systems.
The cause can depend on the model, firmware, and installation history.
What should you do?
- Record the full error message and inverter model.
- Note whether the system is newly installed or has been operating normally for some time.
- Check the monitoring platform for additional messages.
- Consult the official manual.
- Contact Growatt support if the error persists.
Do not disassemble the inverter or attempt an unofficial firmware update.
Official reference: Growatt inverter support FAQs.
How to Reset a Growatt Inverter After a Fault
A reset may clear certain temporary warnings, but it will not repair a genuine electrical or hardware problem.
Before considering a restart:
- Record the exact fault code.
- Identify the inverter model.
- Read the corresponding troubleshooting instructions in the official manual.
- Check whether the manual permits a user-level restart for that fault.
- Follow the manufacturer’s shutdown and startup procedure exactly.
Solar systems may have multiple power sources, including PV panels, batteries, and the electrical grid. Turning off one switch does not necessarily make every part of the system safe to touch.
Never improvise a shutdown sequence, open the inverter enclosure, or disconnect energized PV or battery cables. If the manual requires electrical isolation or the fault involves internal components, use a qualified technician.
If the same error returns after an approved restart, stop repeating the reset and investigate the underlying cause.
Why Does My Growatt Inverter Keep Showing Faults?
A fault that returns repeatedly may indicate an underlying problem rather than a temporary event.
Common possibilities include:
- Incorrect PV string design.
- Battery settings that do not match the battery specifications.
- Communication problems between compatible system components.
- Poor ventilation or excessive ambient temperature.
- A grid condition outside the inverter’s permitted operating range.
- A wiring, insulation, or grounding issue.
- An internal hardware fault.
The correct diagnosis depends on the exact code, inverter model, installation, and operating conditions.
For example, a PV voltage error should not be investigated in the same way as a battery communication fault. Using a generic troubleshooting procedure for every error can waste time and may create additional risk.
What Information Should You Give Growatt Support?
Providing accurate information can help the support team identify the problem more efficiently.
Prepare the following details:
- Exact inverter model number.
- Inverter serial number.
- Full fault code and message.
- A clear photograph of the display, if safe to take.
- Approximate time the error appeared.
- Whether the system is grid-tied, off-grid, or hybrid.
- Battery model and configuration, if applicable.
- Any recent changes to the installation.
- Relevant monitoring information and error history.
Do not publish serial numbers or other identifying equipment details publicly. Share them directly with the manufacturer or authorized service provider when necessary.
You can start with the official Growatt support FAQs and the Growatt manual download page.
How to Prevent Common Growatt Inverter Problems
Although not every fault can be prevented, good system design and maintenance can reduce the likelihood of recurring problems.
1. Use the correct solar-panel configuration
The number of panels in each string must be compatible with the inverter’s input voltage and current limits. Have a qualified installer check the design against the relevant module and inverter specifications.
2. Match the battery to the inverter
For hybrid and off-grid systems, confirm battery compatibility, approved communication methods, and manufacturer-recommended charging settings.
3. Keep the installation environment suitable
Follow the manufacturer’s requirements for ventilation, clearance, temperature, and protection from environmental conditions.
4. Monitor warnings instead of ignoring them
Check the inverter’s normal monitoring interface and investigate recurring warnings promptly. A warning that appears repeatedly should not be dismissed simply because the system later resumes operation.
5. Use qualified installers and service providers
Electrical faults, insulation problems, internal hardware failures, and live DC troubleshooting require appropriate training and equipment.
Frequently Asked Questions About Growatt Inverter Fault Codes
What are the most common Growatt inverter fault codes?
Commonly documented codes include Fault 01 for a fan fault, Fault 05 for an output short circuit, Fault 07 for overload, Fault 20 for battery communication on certain models, and Error 203 for low PV insulation resistance on certain grid-tied models. Their meanings vary by product family, so always verify the exact model.
Why is my Growatt inverter showing a red light?
A red light may indicate a warning or fault, depending on the model and operating state. Read the complete message on the display or monitoring app, then consult the appropriate manual. The light alone is not enough to identify the cause.
Can I reset my Growatt inverter myself?
Some models and fault conditions permit a user-level restart. Others require inspection or qualified service. Only perform a restart when the exact model’s manual recommends it for the fault displayed.
Why does my Growatt inverter keep shutting down?
Possible causes include abnormal grid conditions, PV input problems, battery limitations, overheating, excessive load, or an internal fault. Record the exact code and operating conditions rather than assuming that every shutdown has the same cause.
What does Growatt Error 202 mean?
On certain Growatt grid-tied models, Error 202 indicates high DC voltage. A qualified technician should verify the solar-panel string voltage against the inverter’s specifications and applicable temperature conditions.
What does Growatt Error 203 mean?
On certain grid-tied models, Error 203 indicates that PV insulation resistance is too low. Because this may involve an electrical insulation or grounding issue, arrange a qualified inspection rather than repeatedly restarting the inverter.
Why is my Growatt inverter not charging the battery?
Possible causes include a battery fault, incorrect configuration, communication problems, unsuitable operating conditions, or a system-specific fault. Check the complete message and battery status through the approved monitoring interface, then consult the inverter and battery manuals.
Where can I find the correct Growatt fault-code list?
Use the official Growatt manuals and quick guides and the appropriate Growatt support FAQ. Choose documentation for your exact model and region.
Final Thoughts: Fix Growatt Inverter Fault Codes the Right Way
A Growatt inverter fault code is a diagnostic clue, not a reason to guess or replace equipment immediately. The best troubleshooting process starts with the exact model, the complete error message, and the manufacturer’s recommended procedure.
Some problems may involve operating conditions or connected loads. Others, particularly insulation faults, short circuits, battery protection issues, and internal hardware errors, require professional attention.
For the safest and most accurate solution, identify your Growatt inverter model, verify the fault code in its official manual, and address the underlying cause rather than repeatedly resetting the system.
Safety disclaimer: This article provides general educational information. It does not replace the official manual, the battery manufacturer’s instructions, or assessment by a qualified solar technician. Electrical work should be performed by appropriately qualified personnel.